Friday 21 December 2012

Ice Cream Care Package Over at Fat Mum Slim

Hello lovely folk,

For those of you who missed it yesterday, the lovely Chantelle at Fat Mum Slim did a post about my Ice Cream Care Package.  She is the bees knees!!! I'm rather excited!!!!


You can check out Chantelle's post here and my post from a few months ago about the ice cream party and care package is here.  I took new photos for Chantelle's post and made some sweet little labels that you can download and print from there.

Hope you enjoy it!!!

Love Amy xoxo

Wednesday 12 December 2012

Pretty Picnic Packs & Christmas Gifts

Hello there,

My little blog has been greatly neglected of late. I have a couple of long and detailed posts to put together for Mr 4's big bash, but just can't seem to gather the energy to tackle it!  I've been busy baking for Christmas gifts, I've had my first (and maybe last!!!) market stall, and most importantly, I'm busy baking another babycakes.  :-)

I will do Mr 4's birthday post eventually, but in the meantime, here's a quickie.

I have an overflowing cupboard (ok, it's multiple cupboards!!!) filled with gorgeous party and baking supplies. It's an addiction!  I decided to use some of these goodies to put together a pretty picnic pack for my Secret Santa gift through the gift exchange Chantelle at Fat Mum Slim organised (thank you Chantelle - it's so much fun!!!!)

I had already bought a big collection of crafty and card making bits and pieces for my recipient but wanted another little pack of loveliness to go with it.

I loved the picnic packs so much that I decided to make more for other friends as little gifts to go along with the usual home baked goods I give.

I went with two colour schemes - one Christmassy and the other pink and yellow and grey based on my penchant for those colours.

I raided my supplies and then made a little purchase from Lark for some extra cute bits, cracked open my dot stickers and voila - little boxes of loveliness!!! :-)


I hope the recipients have lovely little picnics with their families and friends over the summer.

Here are some of the other things I've been making and the wrapping I'm going with for this year. I LOVE Christmas!!!

The gorgeous Kate from Our Little Sins has become a great friend this year and when we caught up last week she mentioned she was making almond butter for her son's kinder teachers. She explained how so I jumped on the bandwagon but decided to use cashews instead. Homemade cashew nut butter is AWESOME!!! And so easy! Just toast the nuts and blitz in a food processor. I added a touch of salt and oil just to get a smooth texture, but you don't have to.  Thank you Kate!!! I'm going to make another batch next week for us to eat.


I put the cashew nut butter together with some of my Pecan, Coconut & Cranberry Granola, Dulce De Leche Shortbread Sandwiches and some lemon cordial for my son's AMAZING kinder teachers. I can't fully express how brilliant this year at kinder has been for him, but his teacher and the assistants are absolute gems. Many tears were shed (by the mums!!!) on the last day yesterday!


Brown Paper Packages Tied Up With String!!! :-)


Sticker dots pretty the simplest things up!


I may return next week with the belated birthday post, but in the meantime, I hope your days are merry and bright.

Love Amy xoxoxo

Friday 2 November 2012

Happy Birthday Mr 2!xoxo

Apologies for the vast number of weeks between posts!!!

If you'd like to keep up with my regular goings on, follow me on Instagram {The Misadventurous Maker} or on Facebook - see the link over to the right.  I'm brand new on Facebook so come and say hello so it's not so quiet over there!x

It's been party central around here with both of my boys having birthdays and little parties.  I'm sure you can imagine I've been having fun!!!! :-)


Mr 2 was first.  My little Babycakes.  What a funny little person he is! Just adorable and cheeky and adventurous and extremely entertaining. And he LOVES cake!!! Which we only discovered when he turned 2.  There's been a lot of cake around here over the past few weeks!

I decided to reuse the pom poms and bunting decorations from his 1st birthday party.  I'm still obsessed with yellow and grey and I'm happy to reuse the decorations after putting a lot of time in to making them. This batch has now done 3 birthday parties and the play room *may* have had the decorations up for an entire year!!!!


It was only a small party but I knew I had a bigger party only a few weeks later for Mr 4, so I decided to make a lot of the food ahead and in bulk and freeze it. This turned out to be extremely handy as the day before Mr 2's party, he fell sick and we had to reschedule for the following week. I was very happy to not have any wasted food as it was all still safe and sound in the freezer and the fresh food hadn't yet been prepared!

Menu:


\


Mini pizzas - margarita and roasted pumpkin.

Pizza dough recipe from here.  I LOVE semolina in my pizza bases.  The sugo was basically pureed tomatoes, fresh basil, garlic and a splash of red wine vinegar and salt and pepper.  The pumpkin was simply sliced and roasted with olive oil and salt and pepper.

They freeze wonderfully and I made about 100 mini pizzas to cater for both parties as well as some other sizes for our dinner and some individual ones for Mr 4's lunchboxes.


Green cheese rolls.
Basically using up an abundance of silverbeet from our garden!!! Mr 2's favourite form of vegetable.  It's similar to the recipe in this post, but without the ricotta. Recipe to follow next week hopefully!!!  These also freeze really well and make for fab lunchbox food. I made a huge batch of teeny tiny ones to cater for both parties.


Zucchini pancakes/fritters.
I made these the day before but you can definitely make them ahead and freeze them.  I used the recipe from this post for the kids and for the adults I added lemon zest, salt, pepper and mint and served them hot with some sour cream and chives on top.


Watermelon star pops.
My friend Claire put me on to these a couple of years ago and I make them regularly! There could not be an easier or cuter way of serving fruit!! I love that you can make it ahead. Mr 4 had fun helping me make them.  Served on a piece of foam wrapped in tissue paper.  I forgot to put these out on the food table but they ended up being a great palate cleanser for the kids after cake!!!


Strawberry cups.


Puffed corn cups.


Lemon water bottles.


Thank you gifts.
A simple balloon on a stick and some jelly play dough. The recipe for play dough was adapted from the the lovely Cat's recipe which you will find here (I swapped out the vinegar for cream of tartar.)  Jars were recycled ones I already had.


Cake.
I LOVE this cake. It was really simple to make and the kids loved it.  The design is from the Donna Hay Kids Magazine from this year. I actually used my mum's trusty chocolate cake recipe and instead of the chocolate ganache for the icing, I used Donna's amazing butter cream frosting.  But the concept was the same.


And the most important part of the day - Mr 2 had a ball!!!! He was such a funny birthday boy and ended up with a chocolate butter cream beard from blowing his candles out.  It was a very small gathering, but a lovely little celebration for my amazing boy.  I love you babycakes!!!!


Love Amy xoxo

Wednesday 19 September 2012

Dulce de Leche Shortbread Sandwiches


Yet another Dulce de Leche or salted caramel recipe!  See more here and here and here!

These are delicious little shortbread cookies sandwiched together with salted caramel in the middle.  I think they would make lovely gifts for a special occasion - fathers day, mothers day, a birthday or for Christmas.  

I made the Dulce de Leche and the shortbread mixture and cut the cookies out the day before. I kept them in the fridge (the cookies were raw) until the following day when I baked and assembled them.  The cookies also freeze very well.  I prefer to freeze them raw but already rolled and cut out. The on the day you are giving them away (or a day or two before), you simply bake them and pipe on the salted caramel.

Original recipe from Donna Hay Magazine. Issue 60.

Ingredients:
- 1 batch of Dulce de Leche - you can buy this at some delis or specialty stores. In theory, the canned caramel at the supermarket is the same thing, but in my experience it doesn't taste as good and this is very simple.  Details below.

- 150 grams of unsalted butter, softened
- 1/3 cup pure icing sugar, sifted
- 1.5 cups of plain flour, sifted
- 2 tablespoons of cornflour, sifted
- 1 teaspoon vanilla paste

Directions:

- Make your Dulce de Leche according to David Lebowitz's instructions that you will find here.  I omit the salt before cooking, as I prefer to add it afterwards - I like the salt flakes to be visible.  So, once it's nice and caramel, remove from the oven and sprinkle lightly with sea salt flakes.  Set aside to cool.


- Beat together the butter, sugar & vanilla for about 10 minutes or until pale and creamy
- Add the flours and beat until a smooth dough forms
- Roll the dough between two sheets of non stick baking paper to about 5mm thick
- Refrigerate for 30 minutes
- Preheat oven to 170 degrees Celsius
- Cut out the cookies using a 4cm cookie cutter - it makes approximately 50 individual cookies or 25 sandwiched cookies
- Place the cookies on lined baking trays and bake for approximately 10 minutes or until a very light golden colour - keep a close eye on them as you don't want them to get dark as they will be brittle
- Allow to cool on wire racks
- Pipe the cooled salted Dulce de Leche on to half of the cookies and top each with another cookie - I try to pipe in the middle of the cookie leaving some space on the edge so that when you sandwich the cookies together, the caramel doesn't come out.  This is mostly so if you are packaging them for gifts, the caramel doesn't stick to the packaging.


Enjoy!!!!

Love Amy xoxoxo

Thursday 30 August 2012

Yummy Chicken & Veggie Soup With Parmesan

I made this soup today and it was so awesome and so chucked together that I thought I'd better write it down so I could replicate it!  I made a huge batch so I could freeze extra portions.   The Parmesan rind in the stock was the stand out flavour addition.  This would be equally good without the chicken as a vegetarian soup.


Ingredients:
- 3 litres of stock
- 3 cloves of garlic
- 1 piece of Parmesan cheese rind
- 1 small piece of pumpkin
- 2 zucchinis
- 1/2 a head of cauliflower
- a small bunch of silverbeet
- 1 packet of small soup pasta

Optional - roughly 500 grams of chicken breast cut into small, thin pieces - roughly 3 cm square in size and 0.5 cm in thickness.  I used Lilydale free range chicken stir fry pieces that I cut up in to smaller pieces - they happened to be on sale and worked well for a post kinder, quick cook up.

Directions:
- put the stock in a large pot on the stove and bring to a simmer. If you have any tired but flavoursome veggies in the fridge, add them in large pieces (so you can remove them later!!) to the stock.  I added a bunch of wilting spring onions and the chunky stalks of the cauliflower.  Add the Parmesan rind and the crushed cloves of garlic.  Allow to simmer gently while you prepare the other veggies (10-20 minutes for a lovely flavour).

- grate the pumpkin and zucchini and cut the florets of the cauliflower into small pieces.  Wash the silverbeet very well and tear or cut it up in to pieces.

- fish out the large extra flavouring veggies (spring onions & cauliflower stalk in my case) from the stock as well as the Parmesan rind and set aside.

- add the pasta and cauliflower and gently simmer for 5 minutes.

- add the grated pumpkin and chicken (if using it) continue to gently simmer for 5 minutes.


- add the grated zucchini and the silverbeet and continue to gently simmer for 5 minutes or until the pasta is al dente and the chicken is cooked through but still tender.  Take off the heat and add 500ml of cold water. This helps to stop the soup continuing to cook (so the pasta doesn't overcook and break apart). You don't want to overcook at this stage if you're reheating it so portion it up quickly to also help it cool. Freeze any leftovers.

If you like you can serve with a small sprinkle of finely grated Parmesan cheese and some fresh bread on the side - this is how my boys enjoyed it, but I think it's already a meal on it's own.


Yummo!!!!

I am already looking forward to having this for dinner again tomorrow night!

Love Amy xoxo

Monday 20 August 2012

Ice Cream Party


On Thursday I was having one of those days. You know the type. When you're home with two littlies who are super cranky and you all end up in a funk.  I needed a creative outlet, and my creative inkling always leans more towards the cooking side of things.  We were having friends over for dinner on Saturday night and I didn't have a clue what to make. They are the best kind of friends who don't care what's for dinner or how messy your house is, but I always like to make a dinner gathering an opportunity for me to cook up a storm!!!  Lacking any inspiration, I turned to my Pinterest boards and my favourite blogs to find something to spark my interest.  

One of the first food/style blog's I discovered was Eat Drink Chic which was created by another Amy. I fell in love instantly with Amy's blog. I especially loved her post about her surprise wedding and the ice cream parlour. Her gorgeous Ice Cream Parlour was the inspiration for this.

About half way through, I decided that I needed to also package up the extra supplies in the vein of this pin for my friend Claire - always an enthusiastic recipient of pretty and yummy parcels. This allowed me to get crafty as well as bake and share the love.  (Thanks Claire for sending through a couple of your photos to add to this!)

I had a ball making all of the bits and pieces to go in to the Ice Cream Bar. Friday was a very fun day - I pottered in the kitchen, baking and styling a little party while the boys played pretty happily. Mr 3 helped and incessantly asked to taste things. I was a bit mean and didn't actually allow him to sample anything except one teaspoon of ice cream while we were preparing! So here is what I made.

Vanilla Bean Ice Cream
I was considering making a few different ice cream flavours, but decided to stick to vanilla and have a variety of toppings and sauces.  I've linked to the fabulous David Lebovitz several times here already. He is the blogging ice cream guru!  His book The Perfect Scoop is brilliant. I, unfortunately, don't have a copy although I've bought it as gifts for several people so have read their copies. It's on my Christmas wishlist!!!  I used David's vanilla ice cream recipe - you can find it here.  It was a simple and extremely delicious and smooth ice cream. Far from plain old vanilla that you buy at the supermarket!  My husband has requested this become a staple in our freezer from now on!


Raspberry Frozen Yoghurt for the kids
I've spoken briefly before about sugar and my kids. I'm ok with them having some but not loads and I much prefer it to be in the variety of food that I've made myself, or with them.  Less preservatives and additives.   Mr 3 (nearly Mr 4) made this almost completely on his own!  I couldn't find the recipe I used for this last summer so don't have a link, but here is how we made it:

Ingredients:
- 1 litre of greek or natural yoghurt (unflavoured and full fat)
- 1/2 - 1 cup of golden castor sugar (we used 1/2 a cup as it was only for the kids but it may not be sweet enough for you, so just taste it as you go and add more if you like)
- 3/4 cup of raspberries (I use the frozen variety and let them defrost before adding them)
- 200 mls of full cream milk

Directions:
- Whisk all ingredients together until well incorporated
- Refrigerate until very cold
- Churn in ice cream maker

As this doesn't have a high fat content, it's very solid once frozen, but if you leave it out of the freezer for a little while just before serving, it becomes smooth.


Sauces
Being obsessed with all things peanut butter (and all things chocolate for that matter), I had to make Nigella's Chocolate Peanut Butter Fudge Sauce. It's all kinds of incredible!!! And extremely fast.


Another Nigella gem, this Sticky Toffee Sauce is ridiculously rich but really smooth and yummy.


Toppings
I decided to do a combination of homemade and store bought toppings.

Having made ice cream, I had 5 egg whites at my disposal and I loved Eat Drink Chic's use of meringues in her ice cream buffet.  I used this recipe from Taste as a basis and I made half of them in to mini meringues and made the other half in to larger raspberry meringues with the addition of the juice of some crushed raspberries. The larger ones were less stable and solid due to the extra liquid, but they were still tasty.  There were lots of extras so popped them in jars for some lovely friends to sample.


I made this Martha Stewart Almond Brittle recipe and crushed half of it to make praline and kept the other half in shards. Really yummy for a caramelly, nutty crunch!


I have a stash of raw cookie dough in my freezer in a few diffferent flavours.  Yes, it's kind of dangerous but also handy when unexpected visitors pop over for a cuppa - fresh cookies in 12 minutes!  I baked a few milk and white chocolate chip cookies and crumbled them up for a crunchy topping.  They were very yummy! I will post my go to cookie recipe soon - it deserves it's own post!


I had some really nice waffle cones in large and mini sizes and some mini marshmallows and a variety of sprinkles already so they were a nice easy option.


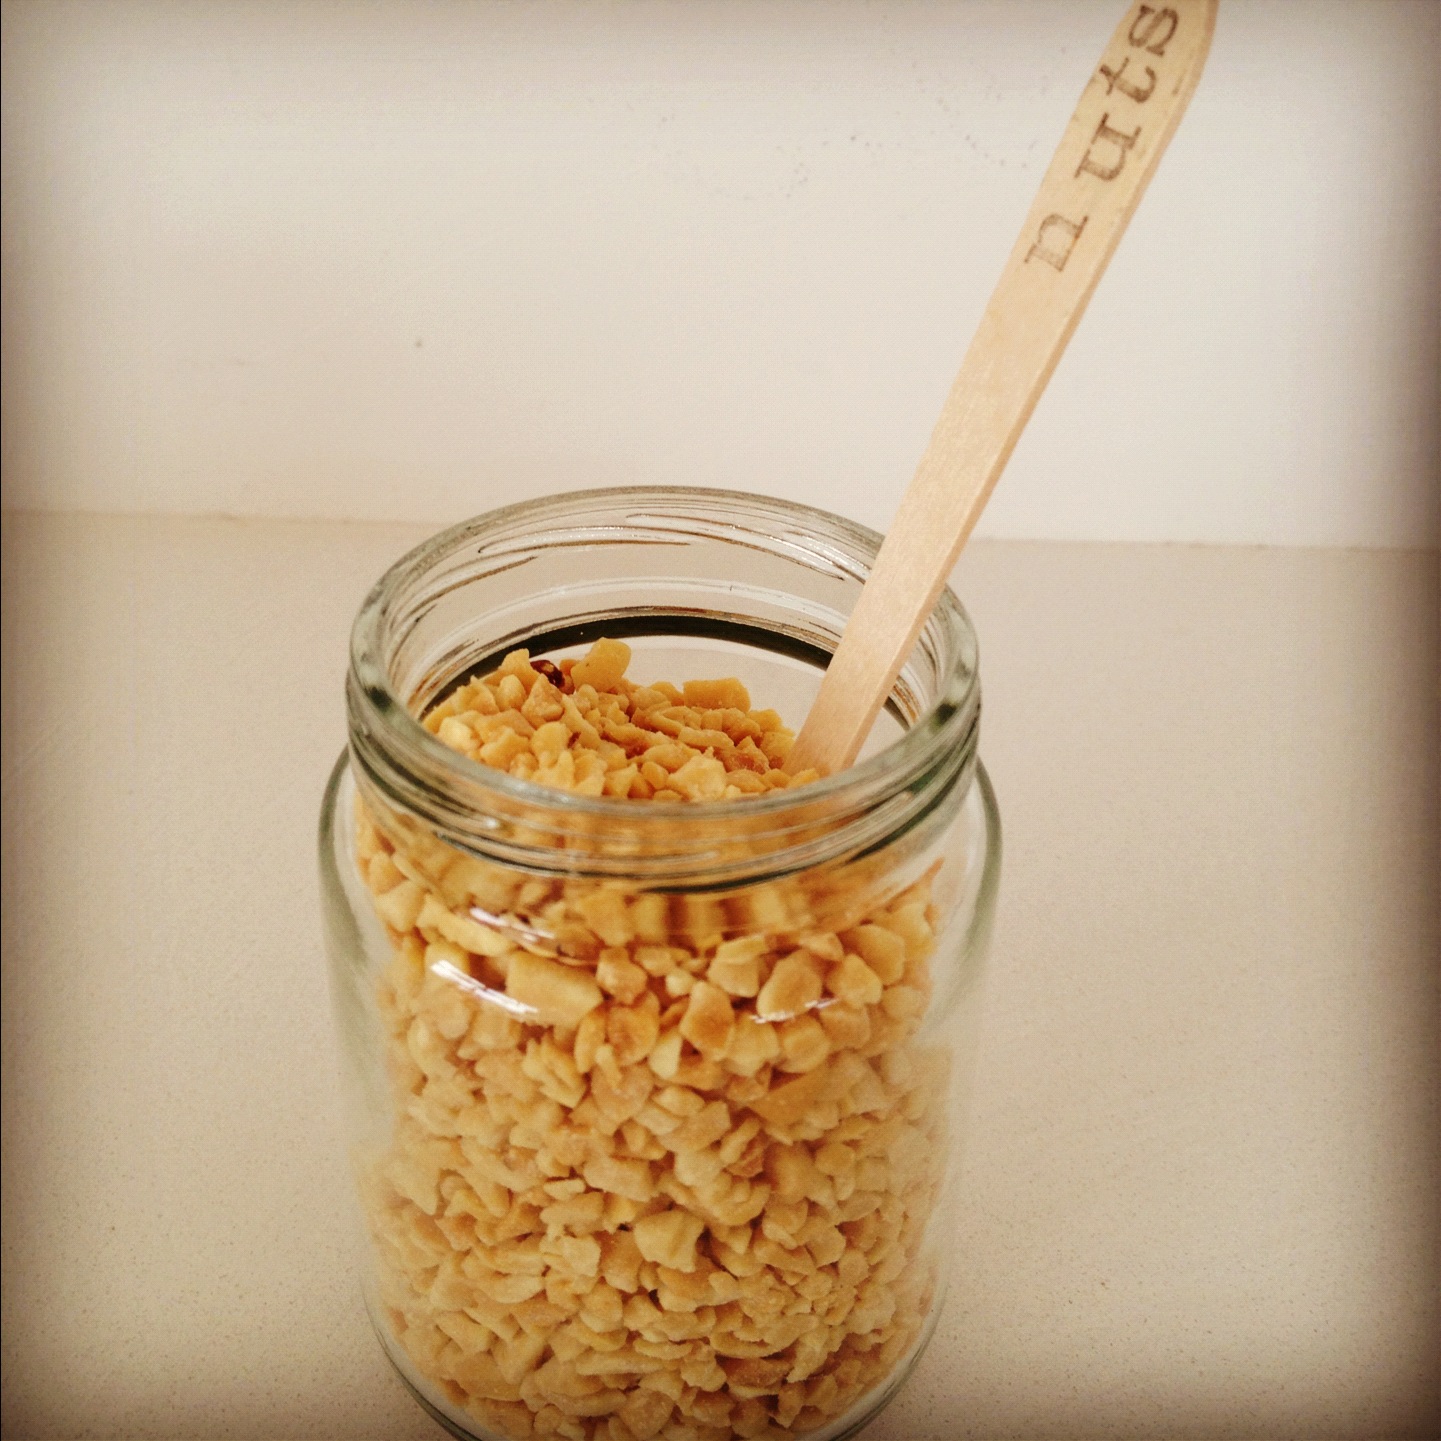
 I bought some mini wafer sticks which were yum and cute, some mini m&m's and some crushed peanuts.


The Ice Cream Bar
I used a mini stamp set to write the names of each item on to mini spoons. I got this idea from this pin.  I can't tell you how satisfying this was!!!!!  Can I pretend that Mr 3 made the messy ones though?!  ;-)


I plated most items up the day before and when our friends were here all I had to do was heat up the sauces and take the ice cream out of the freezer.  This is a winning feature these days as I am usually wrangling the boys and getting them ready for bed around the same time, plus I like to spend the time chatting with my friends rather than cooking while they are here.


Mr 3's selection - he was allowed to choose 2 toppings and he was very understanding considering the vast range of sugary offerings!!!!  Mr 1 just had the frozen yoghurt but loved it. He kept giggling with happiness!!!


I displayed the mini cones in a small ice cream dish filled with sprinkles and in some shot glasses filled with sprinkles - who knew my old shot glasses would come in handy again!!! I think the last time I used them for a party it was for vodka jelly shots - whoa, how times have changed!!! ;-)

The mini cones are such a fabulous size!  I used a melon baller to get the mini scoop size.


A couple of selections from the grown ups.


The Ice Cream Care Package
Using little clear bags, I packaged up the toppings in to little parcels.  I put both the sauces, almond brittle and mini meringues in little jars, topped them with a paper doily and some cute twine.  I stamped some little spoons and added them to the box and stamped the box lid and finally added the ice cream at the last minute.


Where to find
I purchased all of the items I use in my cooking - I have no sponsorship or brand partnerships at this stage. However, I thought some of you may be interested where I find some of the bits and pieces I use so here is a little list. Many of these items I already had in my beloved party, gifts and craft cupboard that has been collected over many years and a couple of items I purchased recently.

Twine & Syrup Jug - Emerald & Ella
Cake Box & clear food storage bags - Lomards
Jars - my own and collected by helpful friends and family members to add to my collections
Doilies, mini wooden spoons - Chef's Hat
The larger ice cream sundae bowls & yellow straws - General Trader
The shallow ice cream bowls - House
Large ice cream cones - Ritchies
Mini ice cream cones - Oasis Bakery

The end result of the Ice Cream Party was delicious and enjoyable, but it was even more fun making all of these items and packaging up the care pack - a lovely diversion and a fun project to share with my 3 year old.  A slightly odd expression of creativity perhaps, but thoroughly enjoyable!!!!

Anyone for a scoop?!

Love Amy xoxo